My super cool hubby bought me a HUGE bunch of spools of thread for Christmas last year. I have used and used and used on the thread and absolutely love it. It had every color I could ever need. It even came in this super cool shelf with a handle. However, there was no way to hang it on the wall and I found out the hard way what happened when it fell over...and a hundred + spools of thread went flying every where! After that incident and quite a while of wondering WHAT to do with bobbins that had thread still on them that matched thread on a spool I decide that something had to be done.
I searched the web and found some options...that were a little costly. So I searched pinterest and found an alternative.
A thread rack tutorial by Sugar Bee Crafts. Her tutorial is great.
The only thing I knew that I wanted to change was that I wanted my dowel rods to be cut longer so that I could put the coordinating bobbin in front of my spool of thread.
I started by buying the peg board and dowel rods. I brought it all home and grabbed one of my handy dandy spools of thread. It slid right on. Then one of my bobbins (because I wanted my bobbins to be on the same dowel as its coordinating thread) and it wouldn't go. CRAP. So I went back to the Home Depot and looked for peg board with smaller peg holes - no dice.
I ended up getting a piece of 2 * 4 particle board. I also carried along a bobbin so that I could pick a dowel rod small enough for my bobbin to slide on to.
I took my new particle board home and laid it underneath the peg board.
I took a pencil and marked every other peg hole through to the new piece pf particle board so I would know where to drill holes. Then I drilled holes and drilled holes and drilled more holes.
My hubby used the table saw and cut my dowel rods to lengths that would hold my spools and bobbins.
After those steps, I pretty much continued following directions according to Sugar Bee's instructions.
We made one slight variation which was to leave one corner to attach some mason jars to hold pins, safety pins and other small objects. We just ran wire through holes that were intended for the dowel rods and wired them on tight. Then I wrapped a cute piece of cut fabric around to cover the wire.
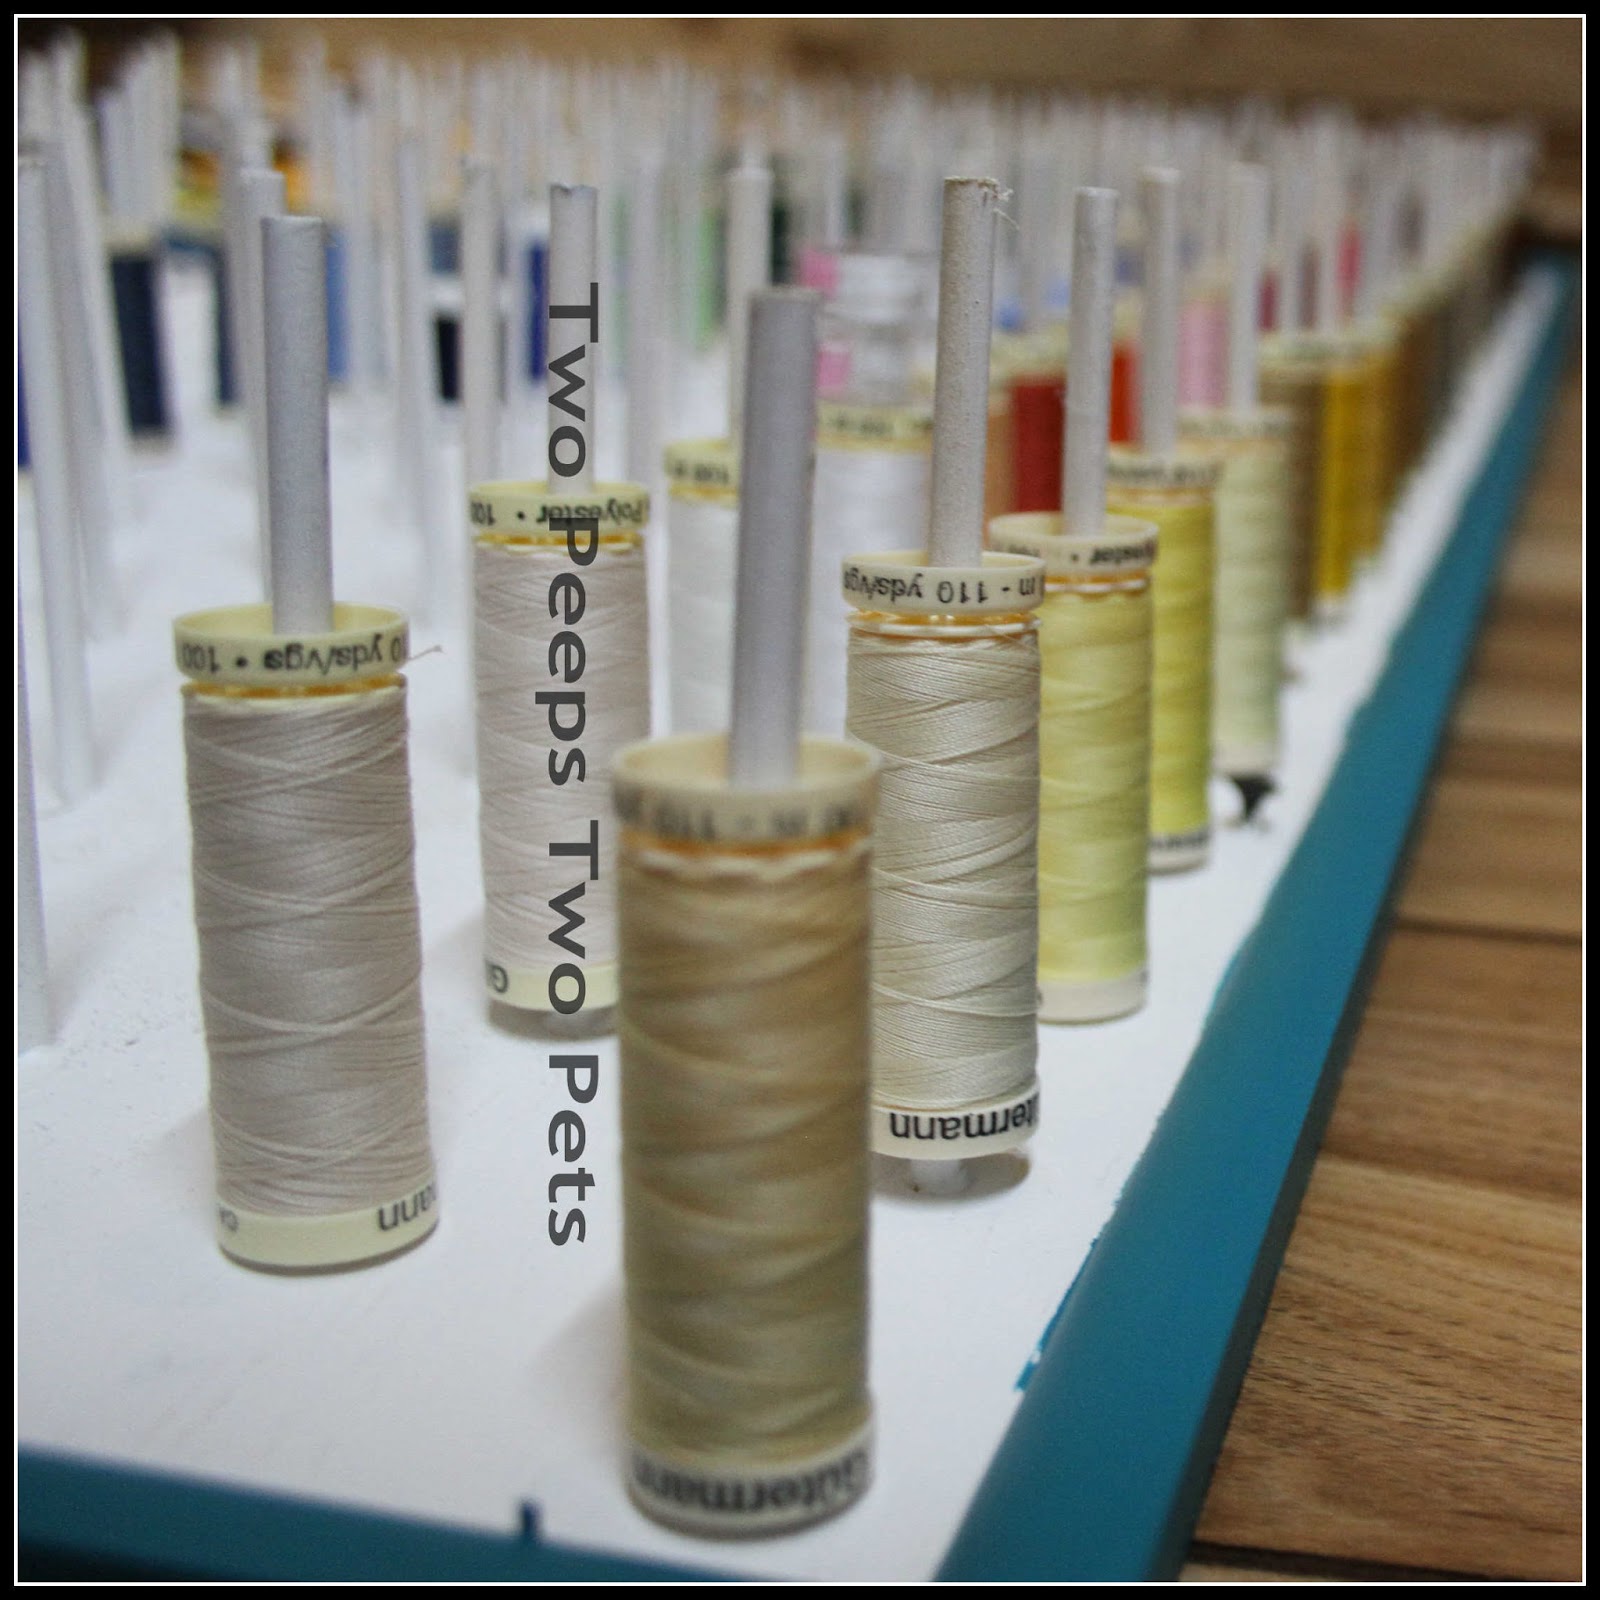
Here are our results ~
I searched the web and found some options...that were a little costly. So I searched pinterest and found an alternative.
A thread rack tutorial by Sugar Bee Crafts. Her tutorial is great.
The only thing I knew that I wanted to change was that I wanted my dowel rods to be cut longer so that I could put the coordinating bobbin in front of my spool of thread.
I started by buying the peg board and dowel rods. I brought it all home and grabbed one of my handy dandy spools of thread. It slid right on. Then one of my bobbins (because I wanted my bobbins to be on the same dowel as its coordinating thread) and it wouldn't go. CRAP. So I went back to the Home Depot and looked for peg board with smaller peg holes - no dice.
I ended up getting a piece of 2 * 4 particle board. I also carried along a bobbin so that I could pick a dowel rod small enough for my bobbin to slide on to.
I took my new particle board home and laid it underneath the peg board.
I took a pencil and marked every other peg hole through to the new piece pf particle board so I would know where to drill holes. Then I drilled holes and drilled holes and drilled more holes.
My hubby used the table saw and cut my dowel rods to lengths that would hold my spools and bobbins.
After those steps, I pretty much continued following directions according to Sugar Bee's instructions.
We made one slight variation which was to leave one corner to attach some mason jars to hold pins, safety pins and other small objects. We just ran wire through holes that were intended for the dowel rods and wired them on tight. Then I wrapped a cute piece of cut fabric around to cover the wire.
Here are our results ~


I found a couple more things I would have changed (or changed the order I did it in) if I had thought about it to begin with:
1. Paint the peg board before you put in all the dowel rods. It would just be easier.2. Paint the trim before you add it around the edges - because then you don't have to be so precise
3.If you want the dowels painted also do those before hand. I would have probably left mine natural colored.
4. On the bottom row I would have put a dowel in every other hole so I could use the bottom row to hang winder items. As it is, I am using mine for scissors and cutting tools but wish I could hang a few more things there.
5. I wouldn't have gotten so excited to make it and not thought about issues 1 - 4 before hand. Take you time. Figure out what all you want to use the board for and make adjustments to suit your needs.
Hope you enjoy making your own thread board. Please leave comments and questions. I'd love to hear from you.
Stacey
look at you Martha! this is fabulous! great job!!!! i need one of these! i so hate winding bobbins in the middle of a task! LOVE THIS IDEA!! xoxoxo
ReplyDelete